When I was a golfer in Barcelona…Just kidding, there will be no long-winded intros to posts on this site if we can help it.
Golf is expensive, and even as home simulator options have come down in price, it still remains pricey to get everything you want. If space in your garage or spare room is at a premium and a permanent setup isn’t and option, a retractable screen may be your solution.
But a retractable screen from online retailers will easily run you north of $1,000. Here’s how you can make your own for less than 1/5 the price, while being easy to install, even if you don’t consider yourself a handyman.
Here is everything I used to make a 10’x10′ retractable screen in my garage, and the rough price I paid for it.
You will need:
- 2-inch wood screws ($8)
- A manual photo backdrop roller ($39)
- 2-inch PVC pipe ($16)
- Your choice of impact screen in the size you would like ($180) *Seriously, buy this one, it’s fantastic, and a fraction of the price of similar offerings from indoor golf shops*
Total spent: Approximately $243 before taxes and shipping.
Now, before you buy any of this stuff, particularly the impact screen, go to the area where you plan to have your golf simulator, find the studs in the ceiling, and measure to see how far apart they are, and how wide a simulator you can make. I lucked out in that the ceiling studs in my garage perfectly came out to 10′, so a 10’x10′ sim was what I could and wanted to make.
Once you’ve figured out what size sim you can accommodate, it’s just a matter of mounting the photo backdrop roller mounts into the studs, inserting the photo roller plugs into each end of your PVC pipe, putting the pipe onto the photo roller mounts, and then attaching the impact screen to the pipe with the ball bungees that are included.
I do not pretend to be handy or some master wood worker, and this whole process took me less than an hour to install, provided you don’t have to make a second trip to Lowe’s like me, because the first trip resulted in a PVC pipe that was too small for the photo roller plugs.
From there, the chain that hangs down from the photo roller is how you will raise or lower your screen, and you’ll need to figure out a way that works best for you on how to secure the bottom of the screen to the floor or some other weighted option.
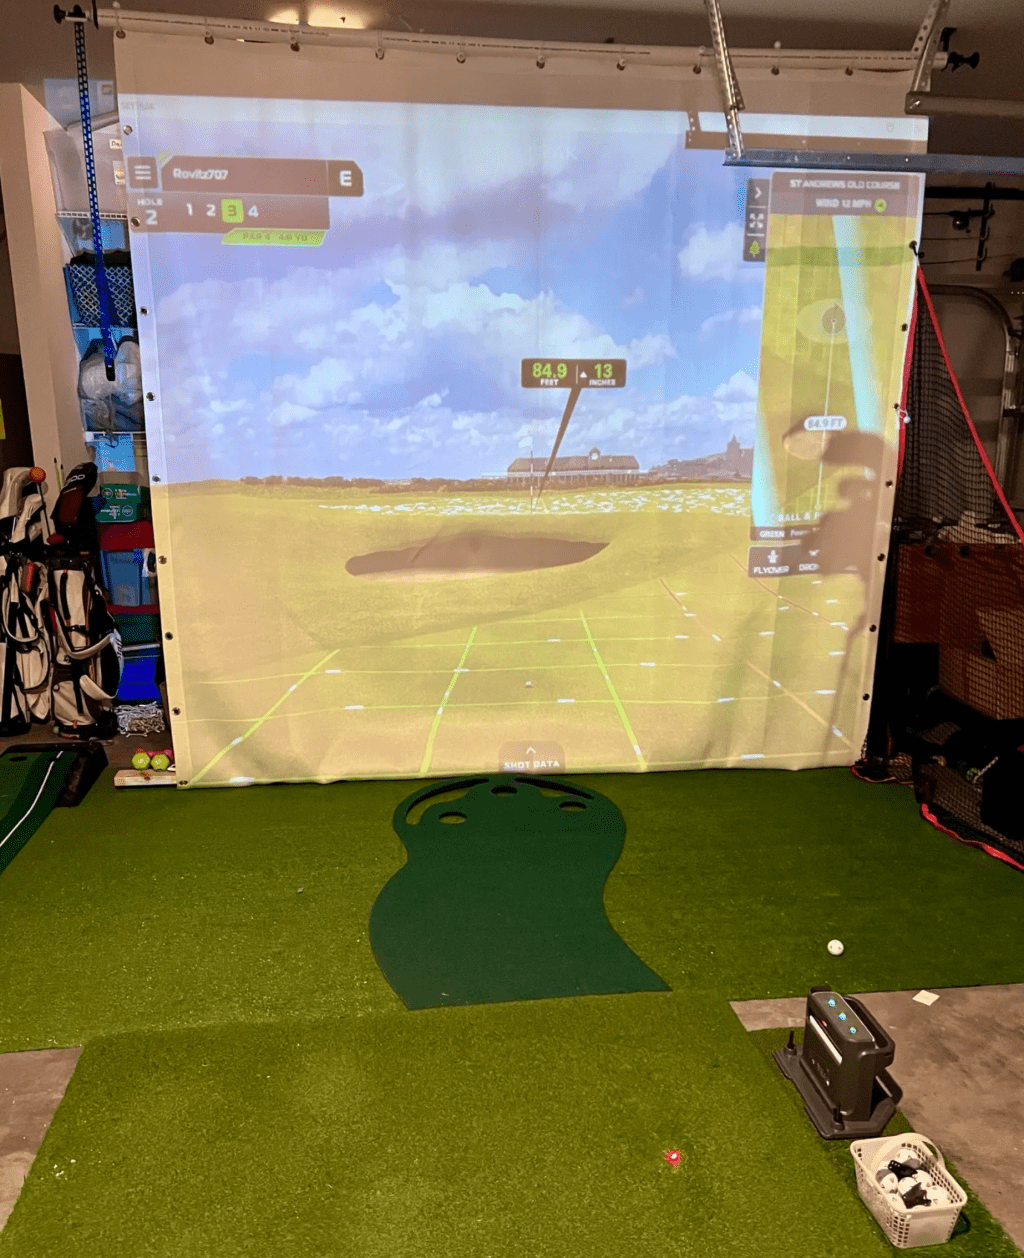
But, here’s out it will roughly look once completed and once you hook up your simulator and projector of choice.
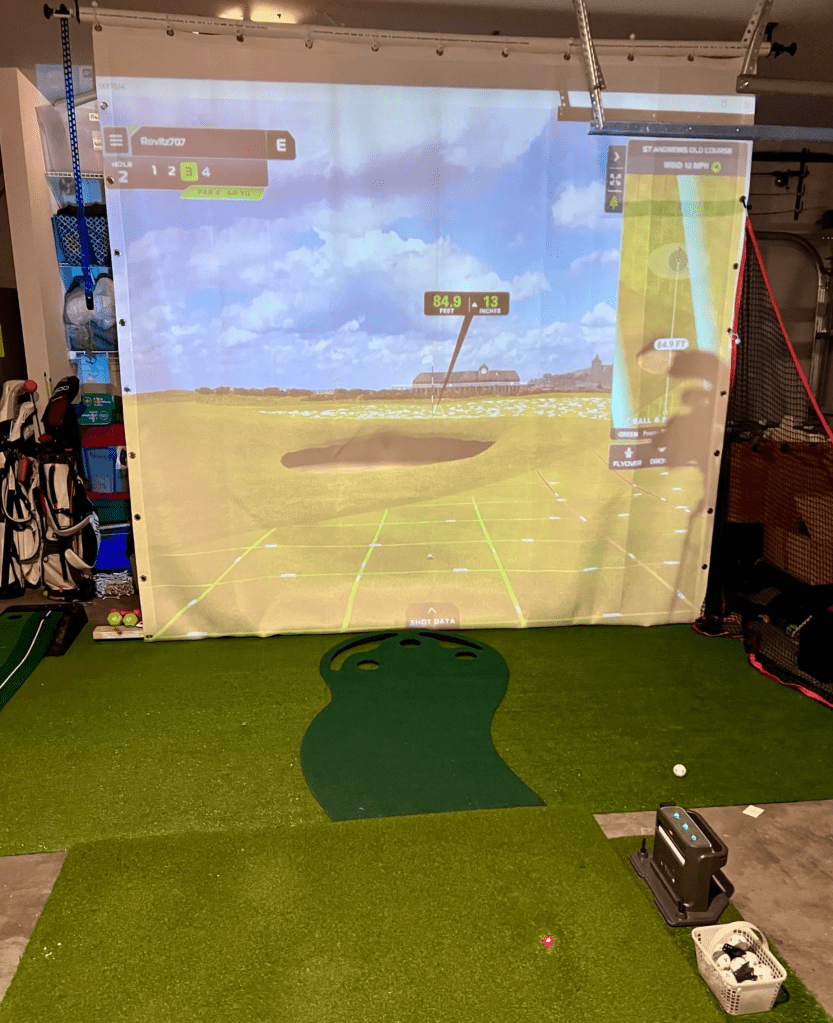
Is it completely perfect? No, and I would be the first to admit that. But does it do everything I want it to do, and is able to be setup or put away in just a couple minutes? Absolutely.
Here’s what it rolls up to, completely out of the way so you can easily access whatever might be behind your screen. Please ignore my OTHER homemade impact screen setup that I then tore down once the retractable one worked.
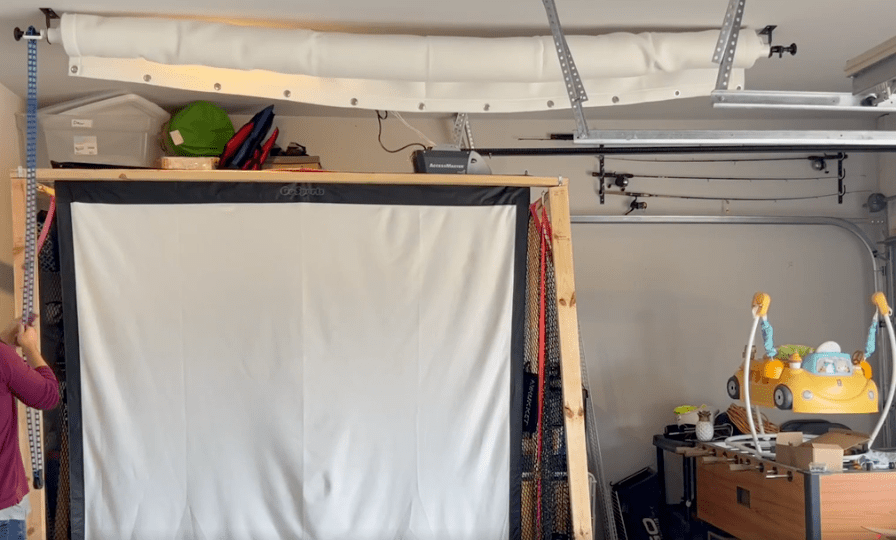
Again, it’s not perfect, but for less than $300 when a motorized version from online retailers will run easily north of $1,000, you’ll have to live with a few minor quirks or inconveniences.


Leave a Reply